Introduction to Arduino
Summary
Overview
This lesson plan will introduce your students to physical computing: the process of building circuits and programming a microcontroller (an Arduino UNO®) to interact with them. The lesson is broken into seven activities that will walk your students through the basics of setting up the Arduino and interacting with circuit parts like LEDs, buttons, and resistors. This introductory material will help prepare your students for more advanced Arduino projects.
Learning Objectives
- Learn how to write and upload code to an Arduino
- Learn how to build a circuit on a breadboard
- Learn how to debug (troubleshoot) a circuit
- Learn to use Arduino functions for digital input and output
- Learn to use Arduino functions for analog input and output
Materials
To complete the activities in this lesson, each group of students will need following materials.
- Science Buddies Electronics Kit for Arduino, available from our partner Home Science Tools
- Windows or Mac computer. Unfortunately, Arduino software does not currently work well with Chromebooks. Your computer will need:
- Access to the Arduino IDE, either installed local version or web-based editor. Watch this video for a comparison of the two options.
- USB port. The Science Buddies kit comes with a USB-A to B cable. The "B" end plugs into the Arduino and the "A" end plugs into your computer. You will need an adapter or different cable if your computer only has USB-C ports. Watch this video to learn about the different types of cables and adapters.
Background Information for Teachers
This section contains a quick review for teachers of the science and concepts covered in this lesson.The Arduino UNO (Figure 1) is a microcontroller board that is widely used in the hobbyist, maker, and educational communities. It allows people with no formal engineering training to get started with their own electronics and robotics projects. It is designed to make prototyping electronics projects easy. You can quickly take apart your project, build a new circuit, and upload a new program.
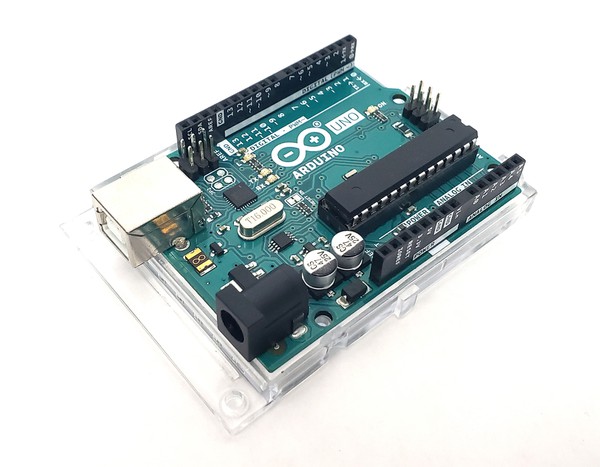
Figure 1. An Arduino UNO.
Unlike a computer with an operating system where you can install programs, browse the web, and play games, a microcontroller only runs one program at a time. Microcontrollers are frequently used to interface with hardware like sensors, lights, and motors, and are usually dedicated to a specific task. Microcontrollers are embedded in many of the devices and appliances that we use every day. Because of their physical interaction with hardware and their typically embedded nature, working with microcontrollers is sometimes referred to as physical computing or embedded computing.
This lesson will introduce your students to the basics of working with an Arduino: writing and uploading programs, building simple circuits, and interfacing with inputs and outputs like buttons and LEDs. This sets the stage for more advanced projects like building robots, drones, voice-controlled appliances, and more.